
What a Technician Sees on These Calls
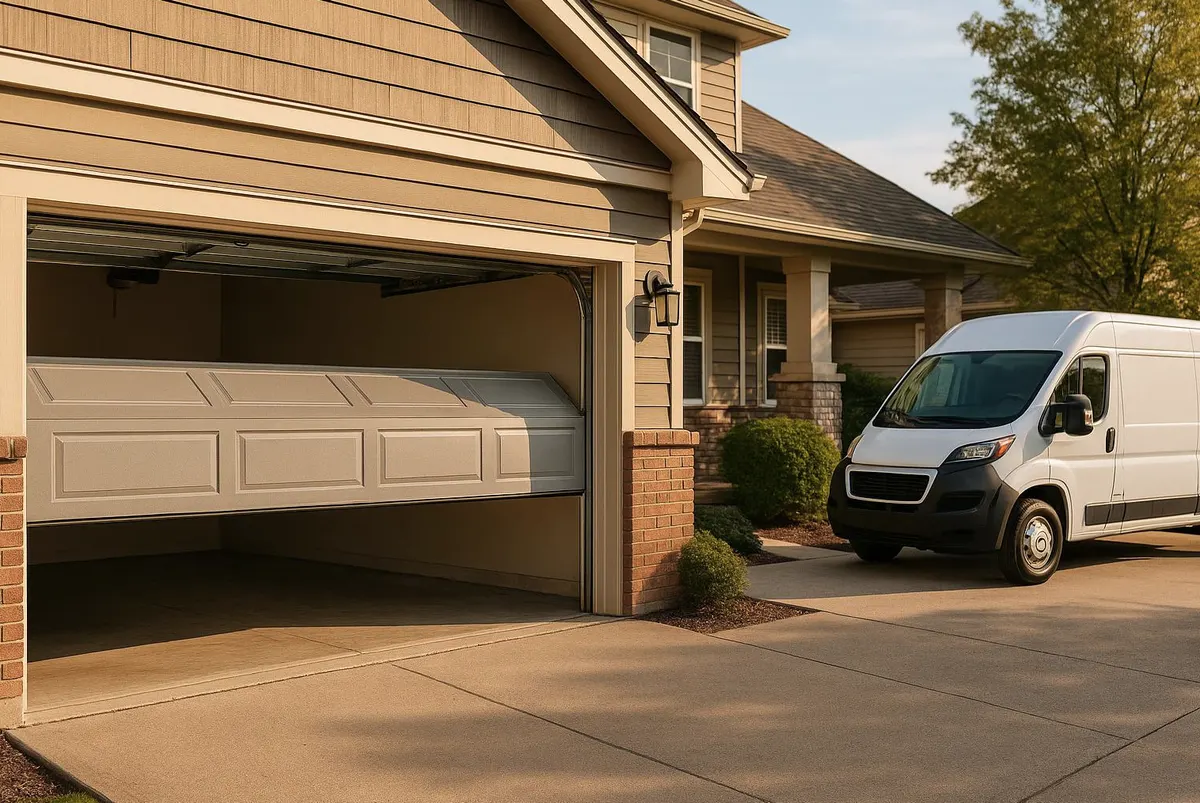
Most calls about drafts, water, or bugs in the garage start the same way. The homeowner points to a gap under the door, or a trail of water stains across the slab after heavy rain. A closer look usually shows the bottom seal cracked, flattened, or pulled loose from the retainer, sometimes with pine straw and grit packed into the track from months of yard debris blowing in. In this part of SC, that combination of humid summers, pollen buildup, and hard rain off hurricane remnants wears seals out faster than people expect. By the time a technician gets called, the seal has often been letting in water for a season or two, and the slab underneath is starting to show it.
The good news: bottom seals and weatherstripping are one of the cheapest, easiest fixes in garage door maintenance. Most homeowners can do this themselves with basic tools in under an hour.
Tools You'll Need
- Replacement bottom seal (bulb-style, T-style, or beveled, matched to your track type)
- Replacement weatherstripping for the jambs and header, if needed
- Utility knife or seal-cutting tool
- Flathead screwdriver or a dedicated seal-removal tool
- Tape measure
- Stiff broom or shop vac
- Silicone-based garage door lubricant
- Work gloves
Step-by-Step: Replacing a Bottom Seal
- Open the door fully and secure it. Prop it open or engage the opener's lock so it can't come down while you're working at the bottom edge.
- Identify your seal type. Look at the retainer channel on the bottom of the door. Most residential doors use either a T-style channel or a bulb-style retainer. Bring a photo or the old seal to the store so the replacement actually fits.
- Pull the old seal free. Starting at one end, work the seal out of the retainer channel. If it's brittle from UV exposure or cracked from age, it may come out in pieces. Use the flathead screwdriver to clear out anything stuck in the channel.
- Clean the track and channel. This is the step people skip and regret. Pine debris, pollen residue, and dried mud build up in that channel and keep new seals from seating properly. Sweep or vacuum it out completely.
- Measure and cut the new seal. Measure the width of your door and add an inch or two of slack. Cut the new seal on a flat surface with a sharp utility knife for a clean edge.
- Feed the new seal into the channel. Start at one end and work it through slowly. It should sit snug without stretching or bunching.
- Trim the excess so the seal ends flush with the door edges.
- Close the door and check from inside. Turn off the garage lights during daylight and look for light coming through along the bottom and sides. Any visible gaps mean the seal isn't seated right or the door isn't closing level.
- Replace jamb and header weatherstripping if it's cracked or missing. This is usually a simple strip that staples or slides into a track along the sides and top of the frame, and it's just as prone to sun and moisture damage as the bottom seal.
What's DIY and What Needs a Technician
Replacing a bottom seal or jamb weatherstripping on a standard residential door is a reasonable homeowner project. The materials are inexpensive and the job doesn't involve the door's spring system.
Call a technician instead if you notice any of the following:
- The door doesn't close flush with the floor even with a new seal installed, which usually points to a bent track or an alignment problem, not the seal itself.
- Water is getting in along the sides even after new weatherstripping, which can mean the door itself is warped or the opener's travel limits need adjusting.
- The seal keeps failing in the same spot repeatedly, which often means a damaged section of track or a header that's settled and needs correction.
- You're not confident identifying your seal type or retainer style, since an ill-fitting seal can actually make drafts and water intrusion worse.
Why This Matters Before Winter
Fall is the right time to handle this. Pollen season has left a film of residue in tracks and channels, summer humidity has been hard on rubber seals, and the occasional ice storms that roll through later in the season turn small gaps into real problems once cold air and moisture start working against a worn seal. A tight seal now also keeps the garage noticeably drier during the heavy rain that comes with hurricane remnants moving inland.
When to Call Fort Mill Garage Door Works
If you've replaced the seal and still have gaps, water intrusion, or a door that won't sit level, it's worth having it looked at. Fort Mill Garage Door Works handles both Garage Door Repair and Preventive Maintenance visits, and a technician can check track alignment, spring tension, and opener settings all at once rather than guessing at the seal alone. If the door is sagging or binding, a spring issue may be the real cause and that's not a DIY repair.
If you're searching for a garage door company near Fort Mill SC to handle the parts of this job that go beyond a seal replacement, give us a call. We serve Fort Mill, Tega Cay, Rock Hill, Indian Land, and the surrounding area, and we're ready to help before the next round of winter weather arrives.